Record Screen
Screen recording is a vital feature for gaming videos, as well as many types of tutorials and presentations.
Note: this feature is only available for the Windows version of FilmoraPro.
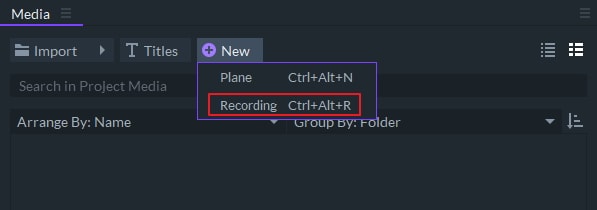
In the media panel, click on +New and choose Recording.
Screen Recorder Window
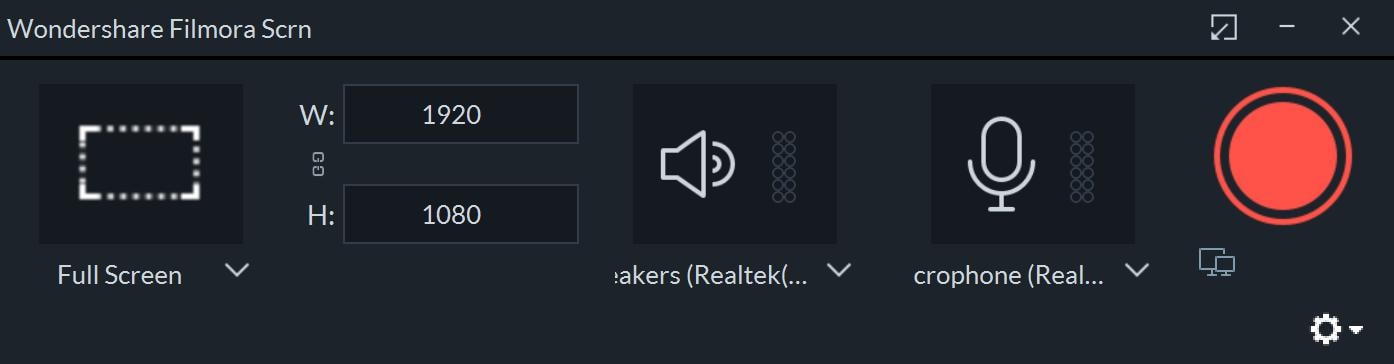
A window like the one below will pop up after you click Recording.
Recording Modes
On the left of the Screen Recorder Window, you can choose between three recording modes by clicking the drop-down arrow.
The recording modes are Full Screen, Custom, and Target Window.
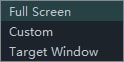
Full Screen: Records your entire screen.
Custom: Lets you choose a customized region of your screen to record. You can either drag the edges of the selected area to re-size it or enter a custom resolution into the W (width) and H (height) fields.
Target Window: Lets you choose a program, internet browser, or other windows to record.
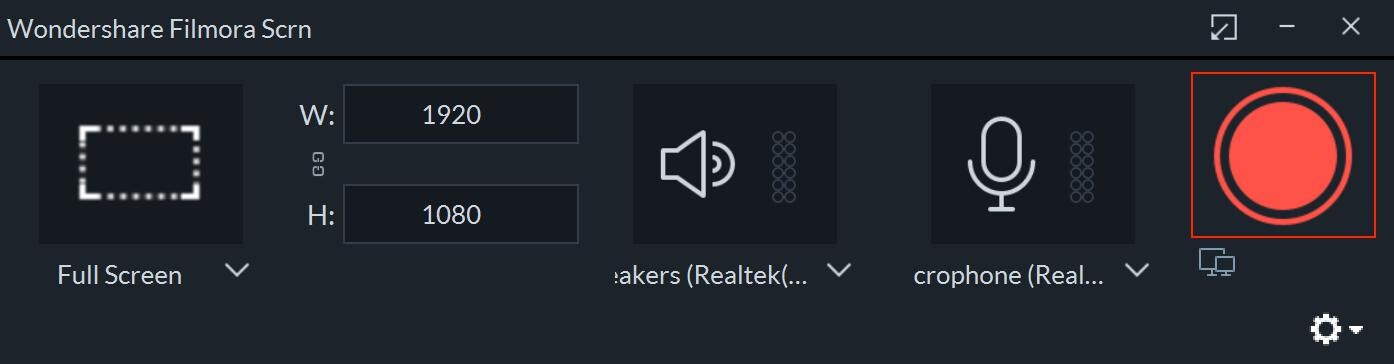
Audio
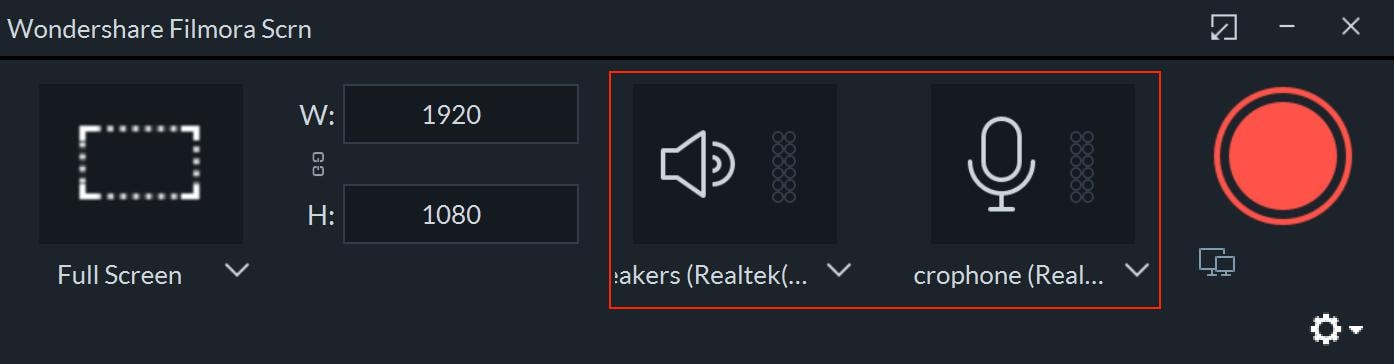
Choose whether or not to record system audio by toggling the speaker icon on and off.
You also have the option to record from a microphone. You can either turn this option off by clicking on the microphone icon or select the dropdown menu underneath it to choose a mic connected to your computer.
Choose Your Monitor
If you’re using more than one monitor, click on the icon that looks like two screens to choose which one you want to record.
Recording Settings
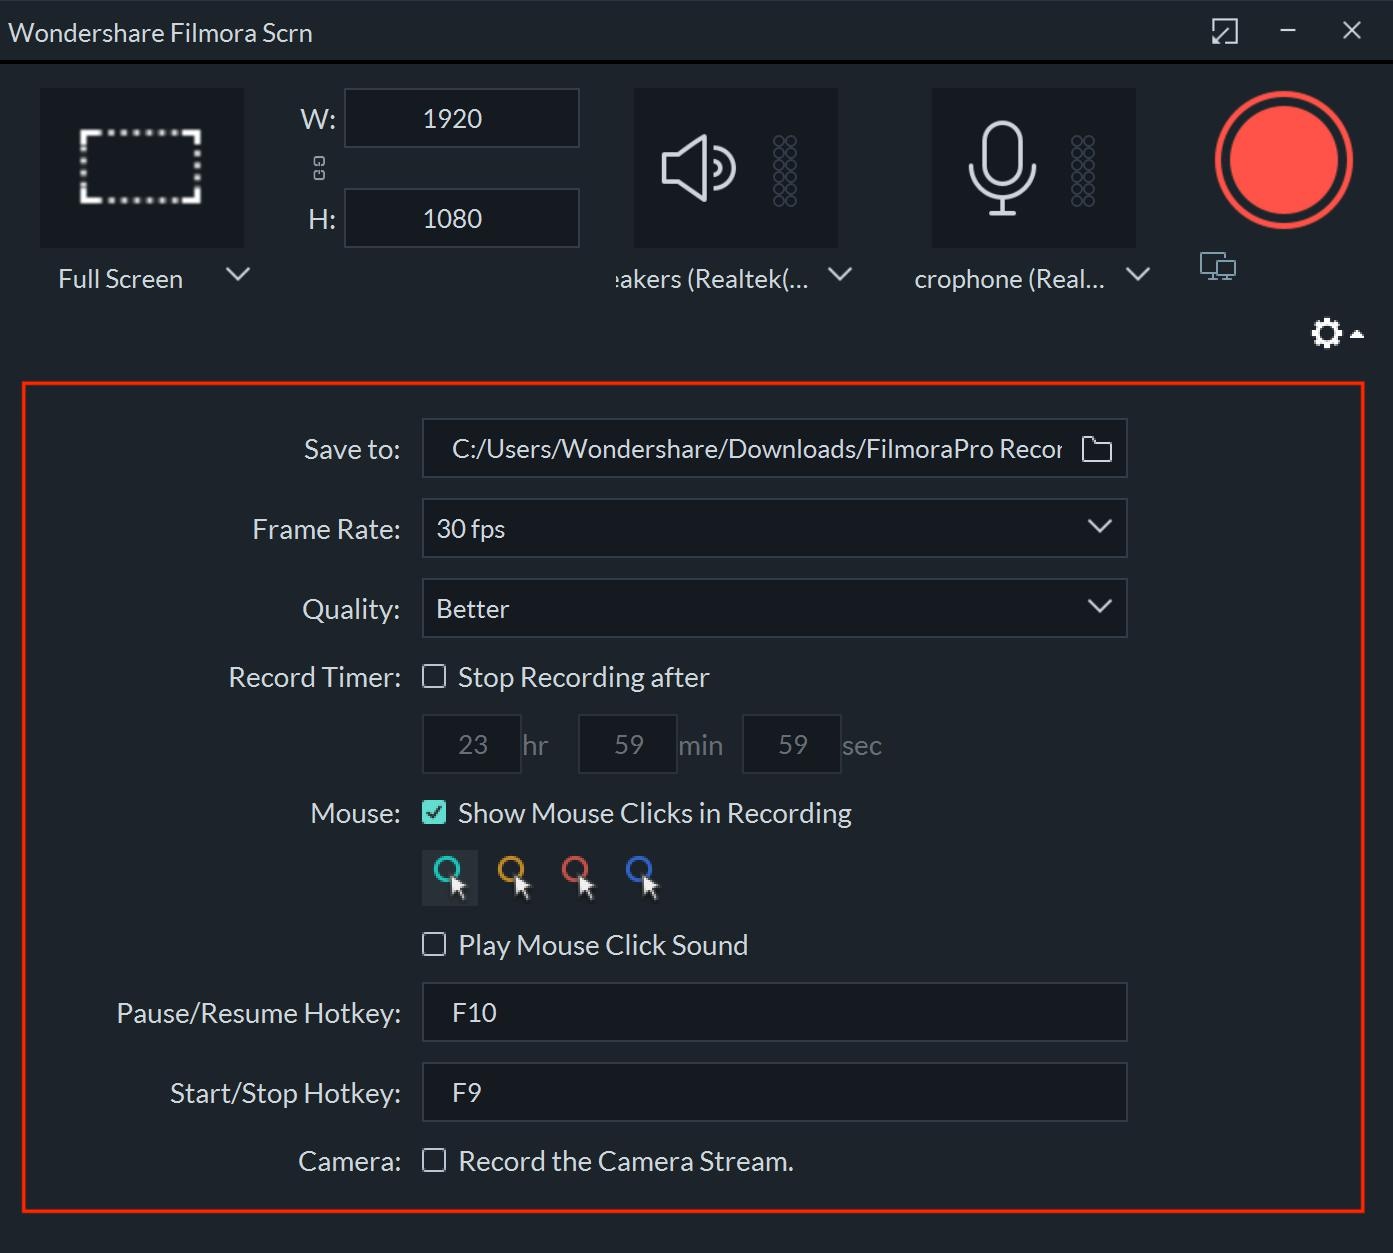
Click on the gear icon in the lower right of the recording window to see more options.
- Save to: Choose where on your computer or connected hard drive you want to save your screen recording.
- Frame rate: Choose the frame rate you want to record at, i.e., 60fps.
- Quality: Choose between good, better, and best.
- Record Timer: Set a time after which your recording will automatically stop. Leave this option unchecked if you want to stop recording manually.
- Mouse: Choose whether to highlight mouse clicks in your recording and whether to record a mouse click sound.
- Pause/Resume Hotkey: Choose a keyboard key to use for pausing and resuming your recording. Make sure it’s a key you won’t need for anything else while recording.
- Start/Stop Hotkey: Choose a keyboard key you to use for stopping your recording. Make sure it’s a key you won’t need for anything else while recording.
- Camera: Check this box if you want to include webcam footage in your screen recording. A table containing the feed from your webcam will appear on the screen and you will be able to position it before starting your recording. Drag it to a corner of your screen, or wherever else you want it, making sure the webcam video is within the screen recording area.
Start Recording
To begin recording your screen, click the red ‘Record’ button.
There will be a brief countdown before the recording starts.
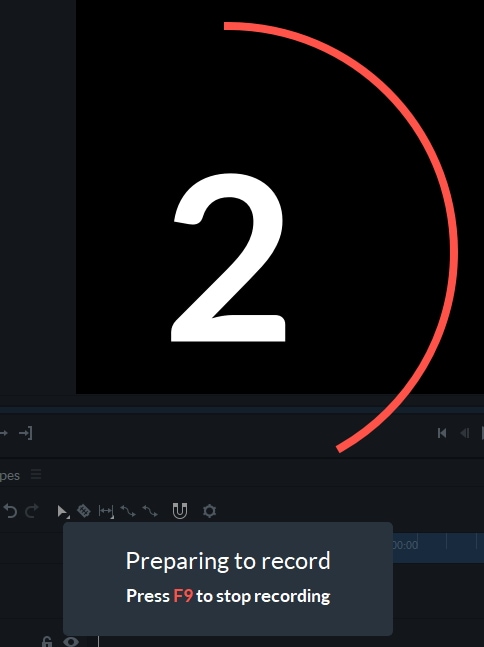
Stop/Pause recording
By default, you can press F9 to stop recording (unless you changed to a different key). Or, you can find the recorder toolbar by clicking on the red recording icon among the system icons in your computer’s taskbar. It will look like this:![]()
After you’ve clicked that icon, choose Open recorder.
In the toolbar that opens, click the stop button to stop your recording or the pause button to pause it.
