Channel
Channels in a layer can be manipulated through channel effects. RGB, CMYK, and luminance are some of the channels you can manipulate.
Color Space Converter


This tool converts any color space of a layer into another color space. You can use this tool for color grading and compositing.
- From: The effect will convert from this source channel or color space.
- To: The effect will convert to this destination channel or color space.
- Invert: This option inverts the results of the conversion.
- Alpha: This setting controls how the alpha channel is handled. By default, Normal is selected and it gives the typical result based on your selected conversion options. To create a solid alpha that overrides your conversion settings, select Solid.
Chromatic Aberration
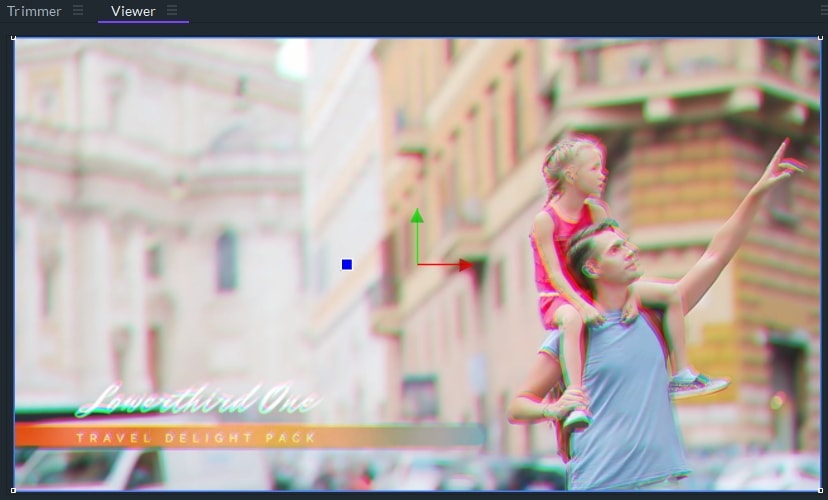
A ‘chromatic aberration’ is a color fringing artifact where the colors have become separated resulting in a rainbow border around objects. An issue with your camera lens can cause this kind of distortion, but with FilmoraPro, you can produce the same effect to create an interesting glitch aesthetic.
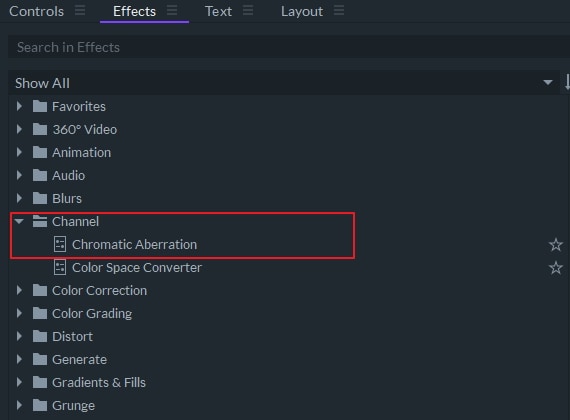
There are two ways to find Chromatic Aberration effect.
1. Go to the Effects panel and type into chromatic aberration to get the effect directly.

2. Find ‘Chromatic Aberration’ under ‘Channel’ and drag it onto a video clip in your timeline.
Chromatic Aberration Settings
Now, you can customize the Chromatic Aberration effect in the Controls panel.
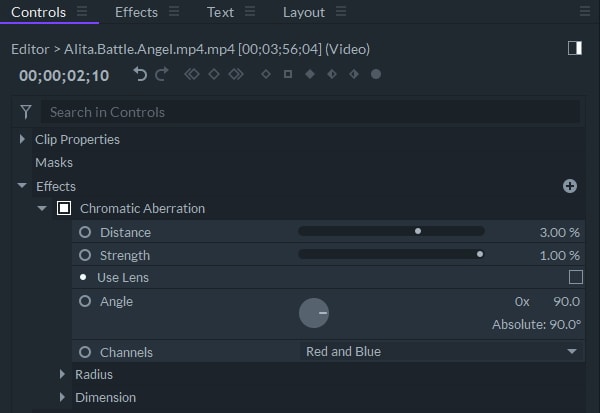
Distance: Dragging this slider left will put the red on the left of your subject and the blue on the right and dragging it to the right will put the red on the right and the blue on the left. The farther you drag in either direction the fartherAdjusts how far the color separations will extend. A negative value will reverse the color separation.
Strength: This slider adjustsAdjusts the intensity of the effect.
Use Lens: Simulates the way this effect would look if it were caused by a real-world camera lens. You can choose a Center where the effect will not be applied. The effect will be more intense farther away from the Center. You can adjust the size of the Center with the Lens Radius slidervalue.
Angle: By default, the colors will be split horizontally (left/right), but you can use this setting to split them diagonally or vertically instead. Move the line in the circle to the angle you want the colors split along.
Channels: Red and blue will be split by default, but you can change this to red and green or green and blue.
Here is what Chromatic Aberration effect look like:
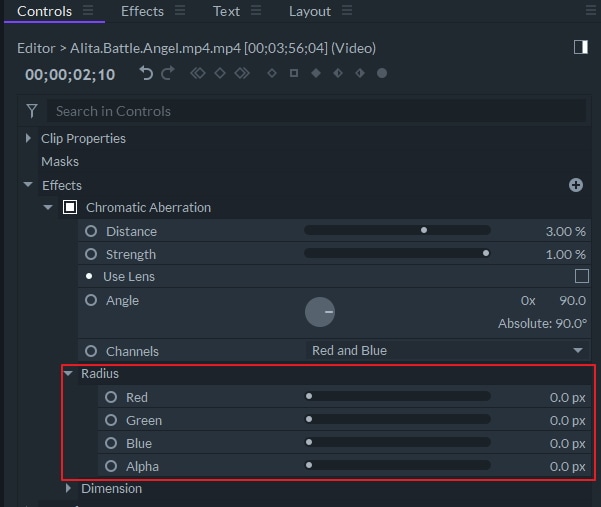
Radius
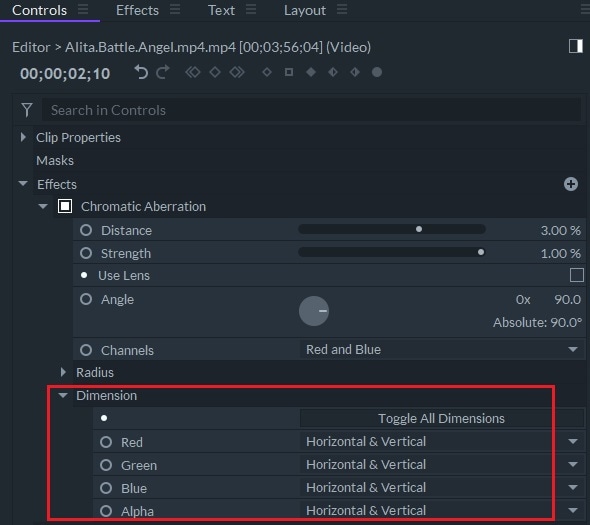
You can choose to amplify individual color channels, creating blurred areas where those colors occur.
Dimension
Choose whether specific color channels distort more heavily horizontally or vertically. For example, if you set Red to horizontal and then toggle the Angle setting, the red distortion will be more intense when the angle is closer to 0 or 180 degrees and more subtle closer to 90 or 270 degrees.
