Crop & Pan
The Crop tool re-frames a clip by zooming into a portion of the entire image. Optionally, crop can also mask out unwanted portions of the clip while maintaining the original pixel size.
The Pan&Zoom tool is an animated crop, simulating a camera move within a video or still image.
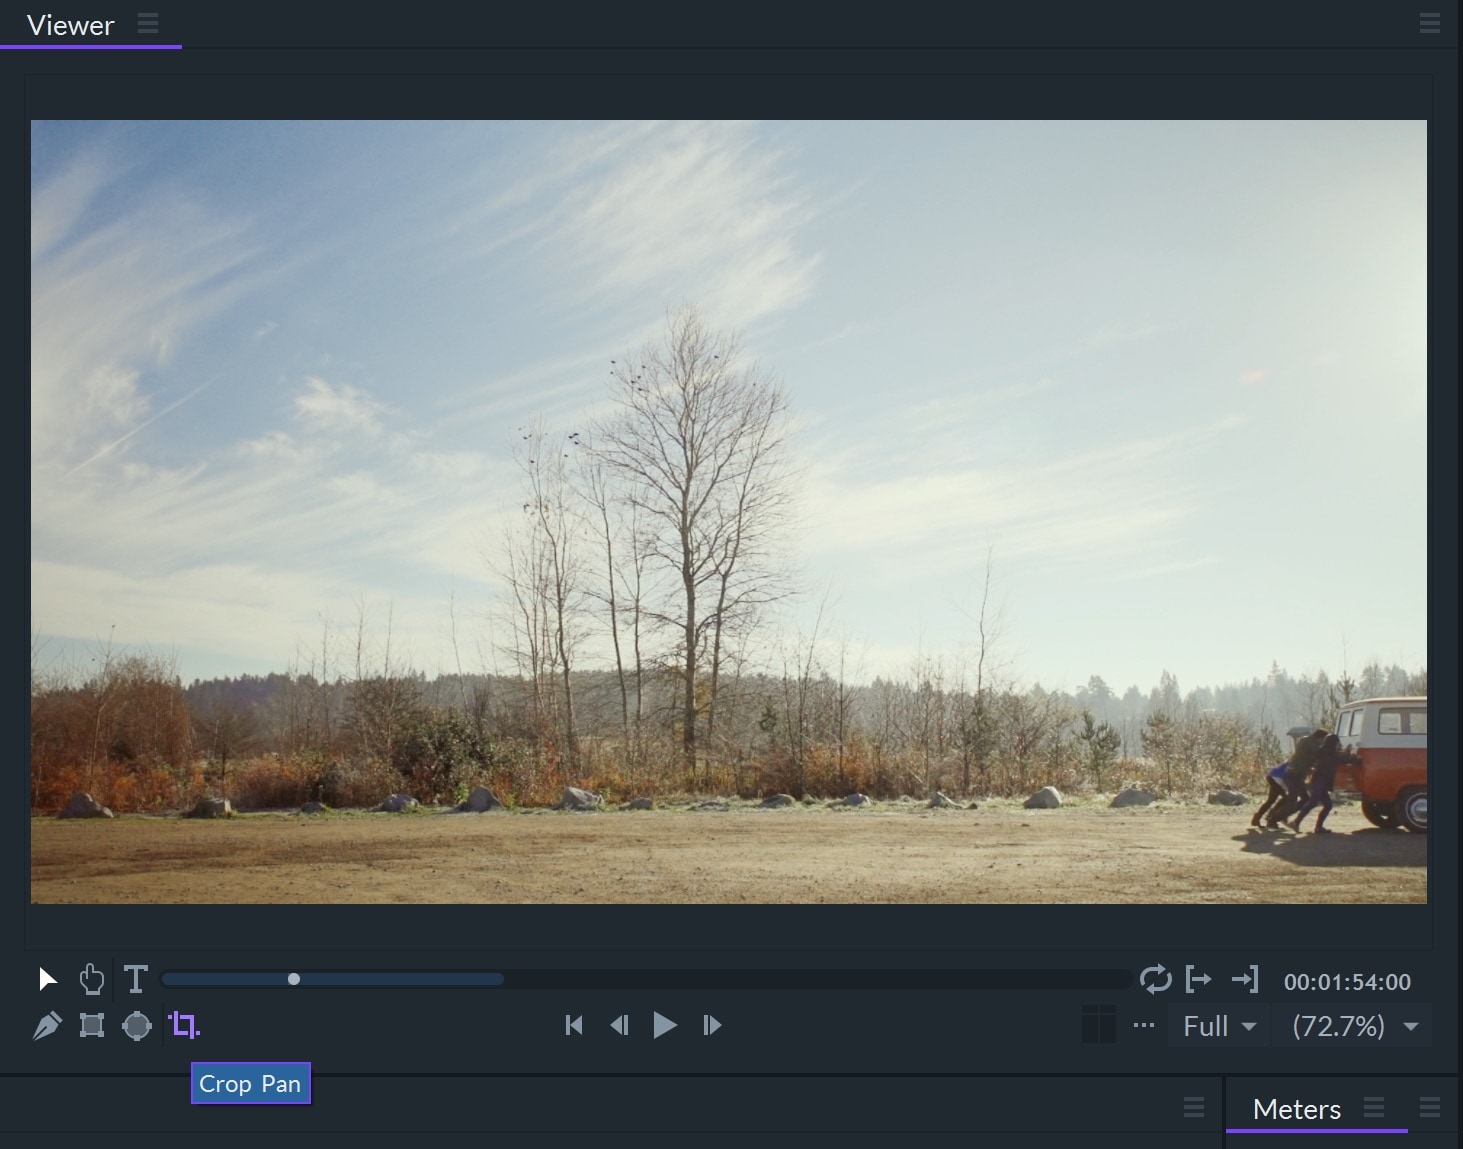
Both of these tools are accessed with the Crop Pan button in the Viewer panel.
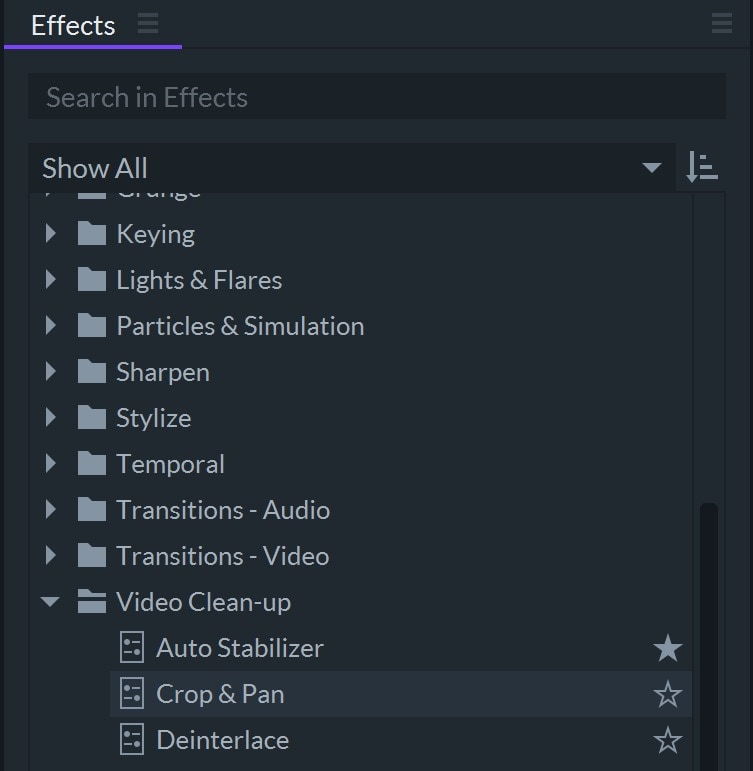
The Crop & Pan effect can also be found in the Effects panel within the Video Clean-up folder.
Using Crop
- Select a clip in the timeline and then click the Crop Pan button in the Viewer.
- Move the position and/or size of the crop box as desired.
- Deselect the Crop Pan folder in the Controls panel to view the result.
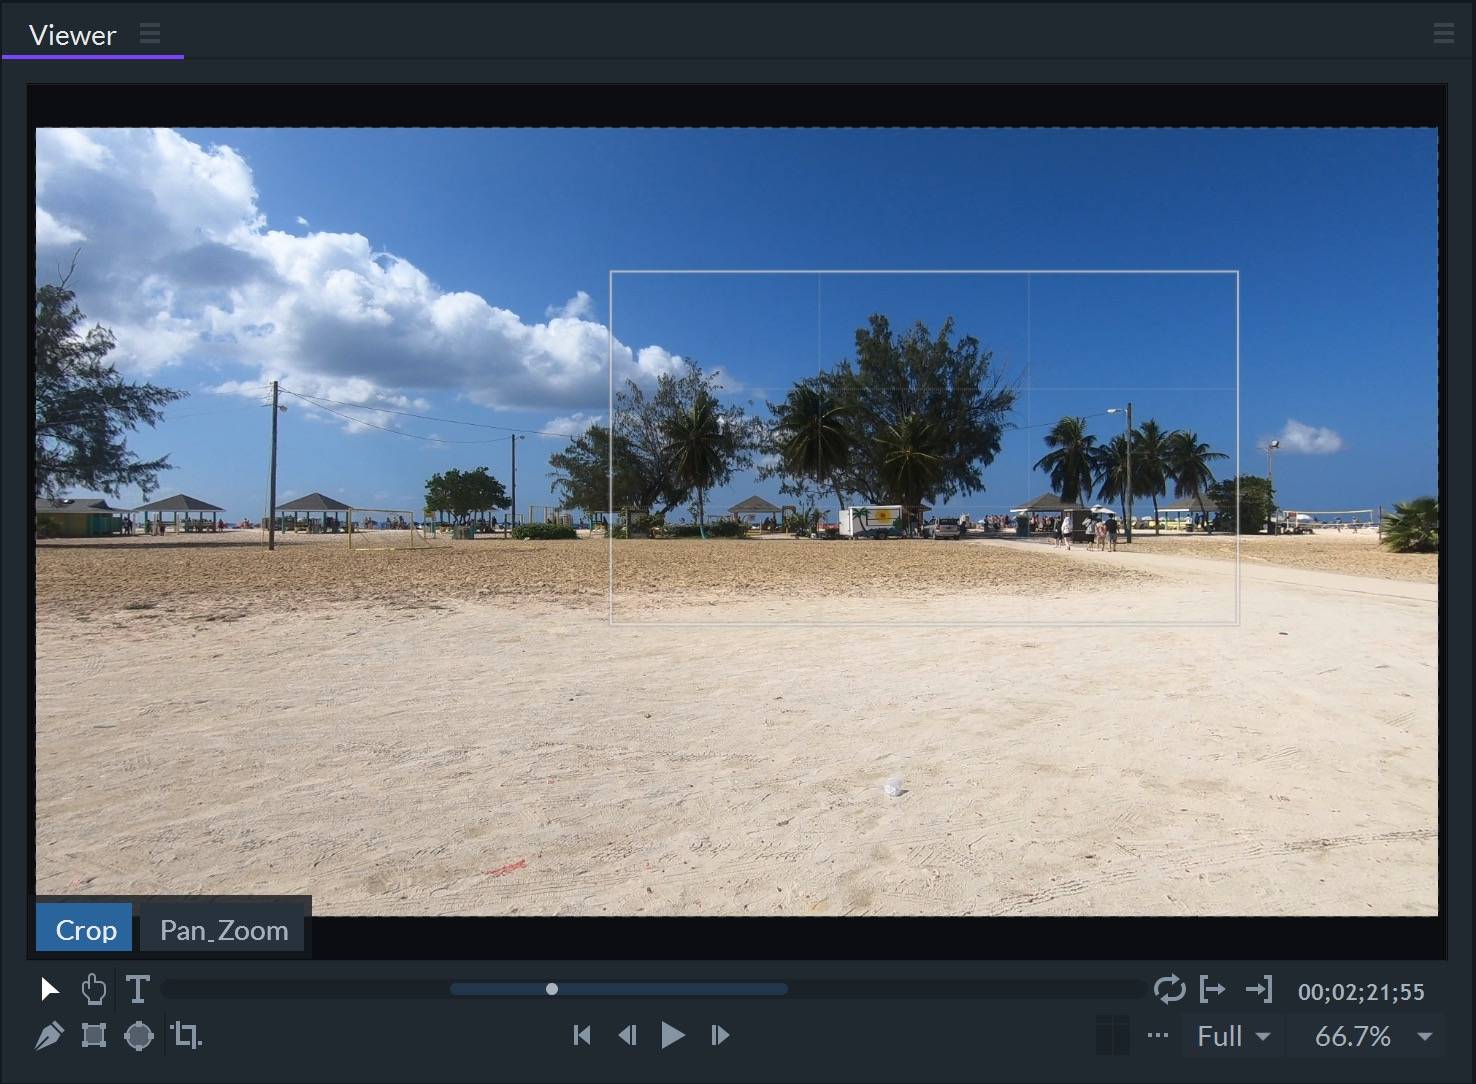
The full image will be automatically scaled to fit the screen. A white crop box will appear to show the extent of the crop area.
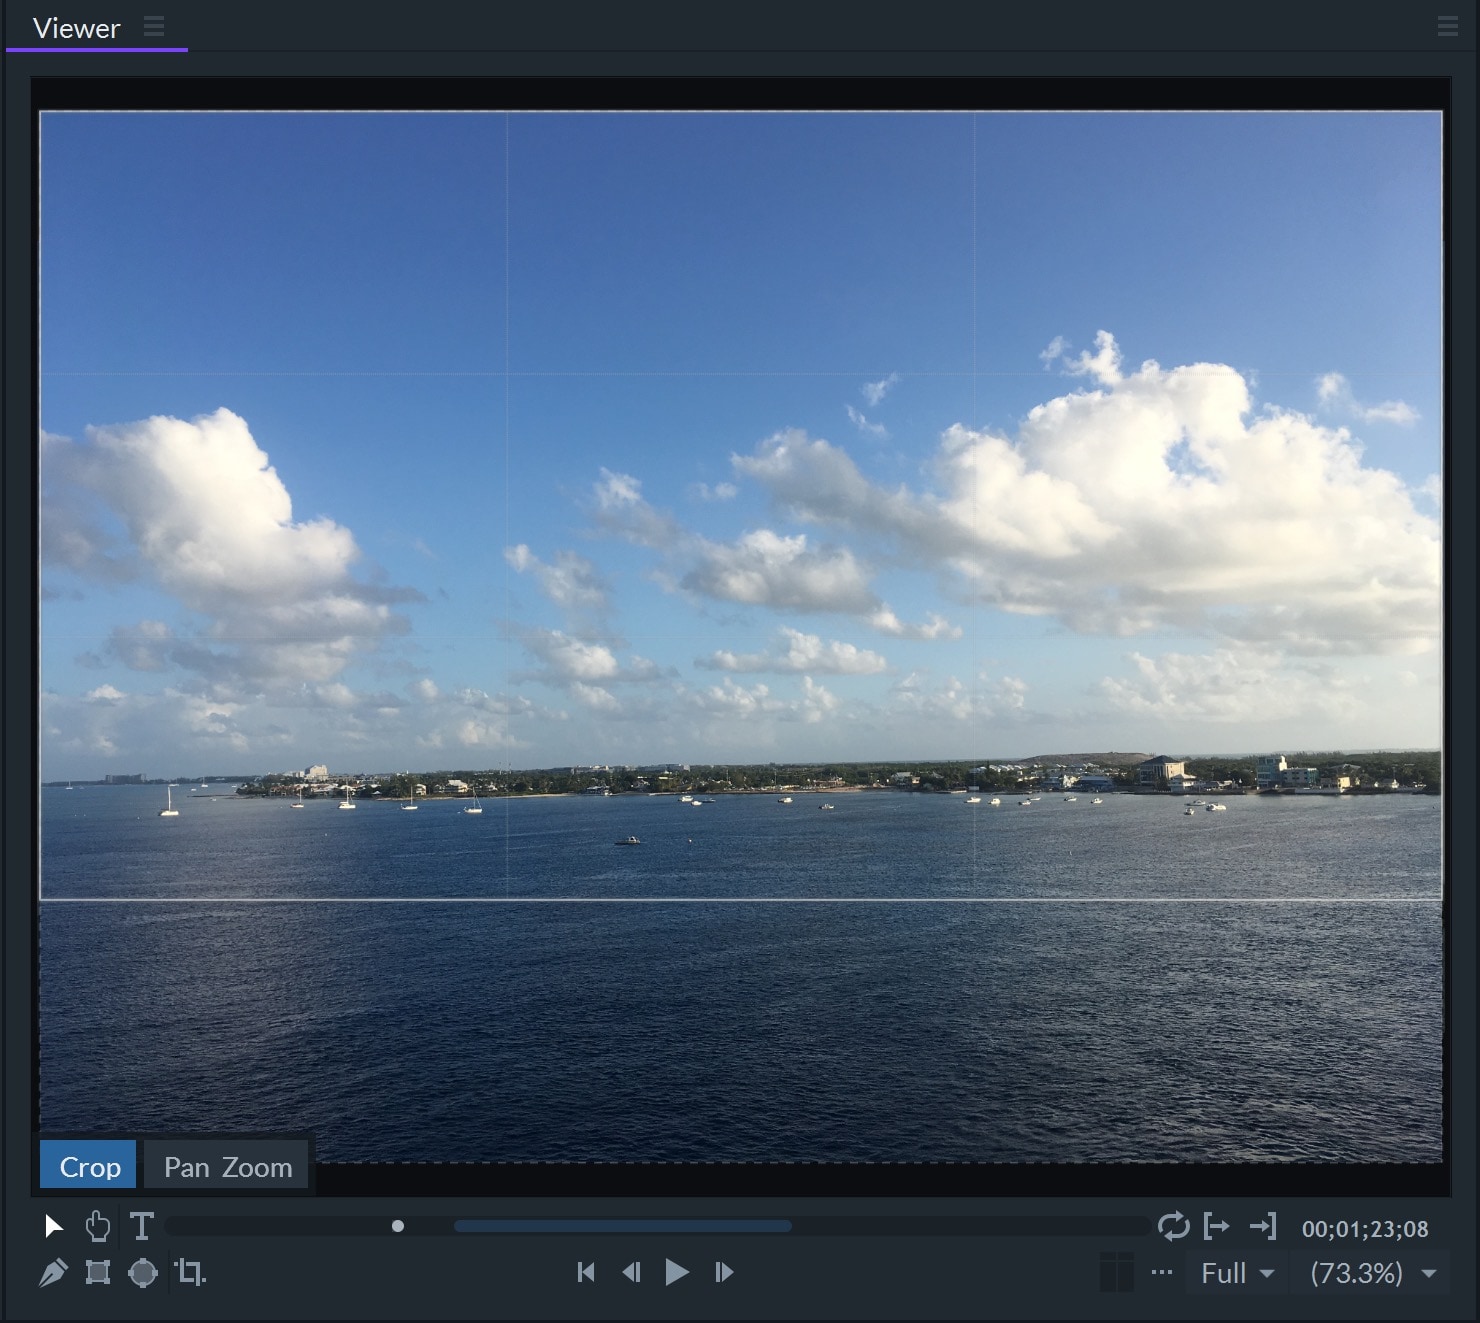
In this example, the photo is a larger resolution and a different aspect ratio than the project setttings.
By default, the crop box is the same aspect ratio as the project. This may be changed; see Crop Settings below.
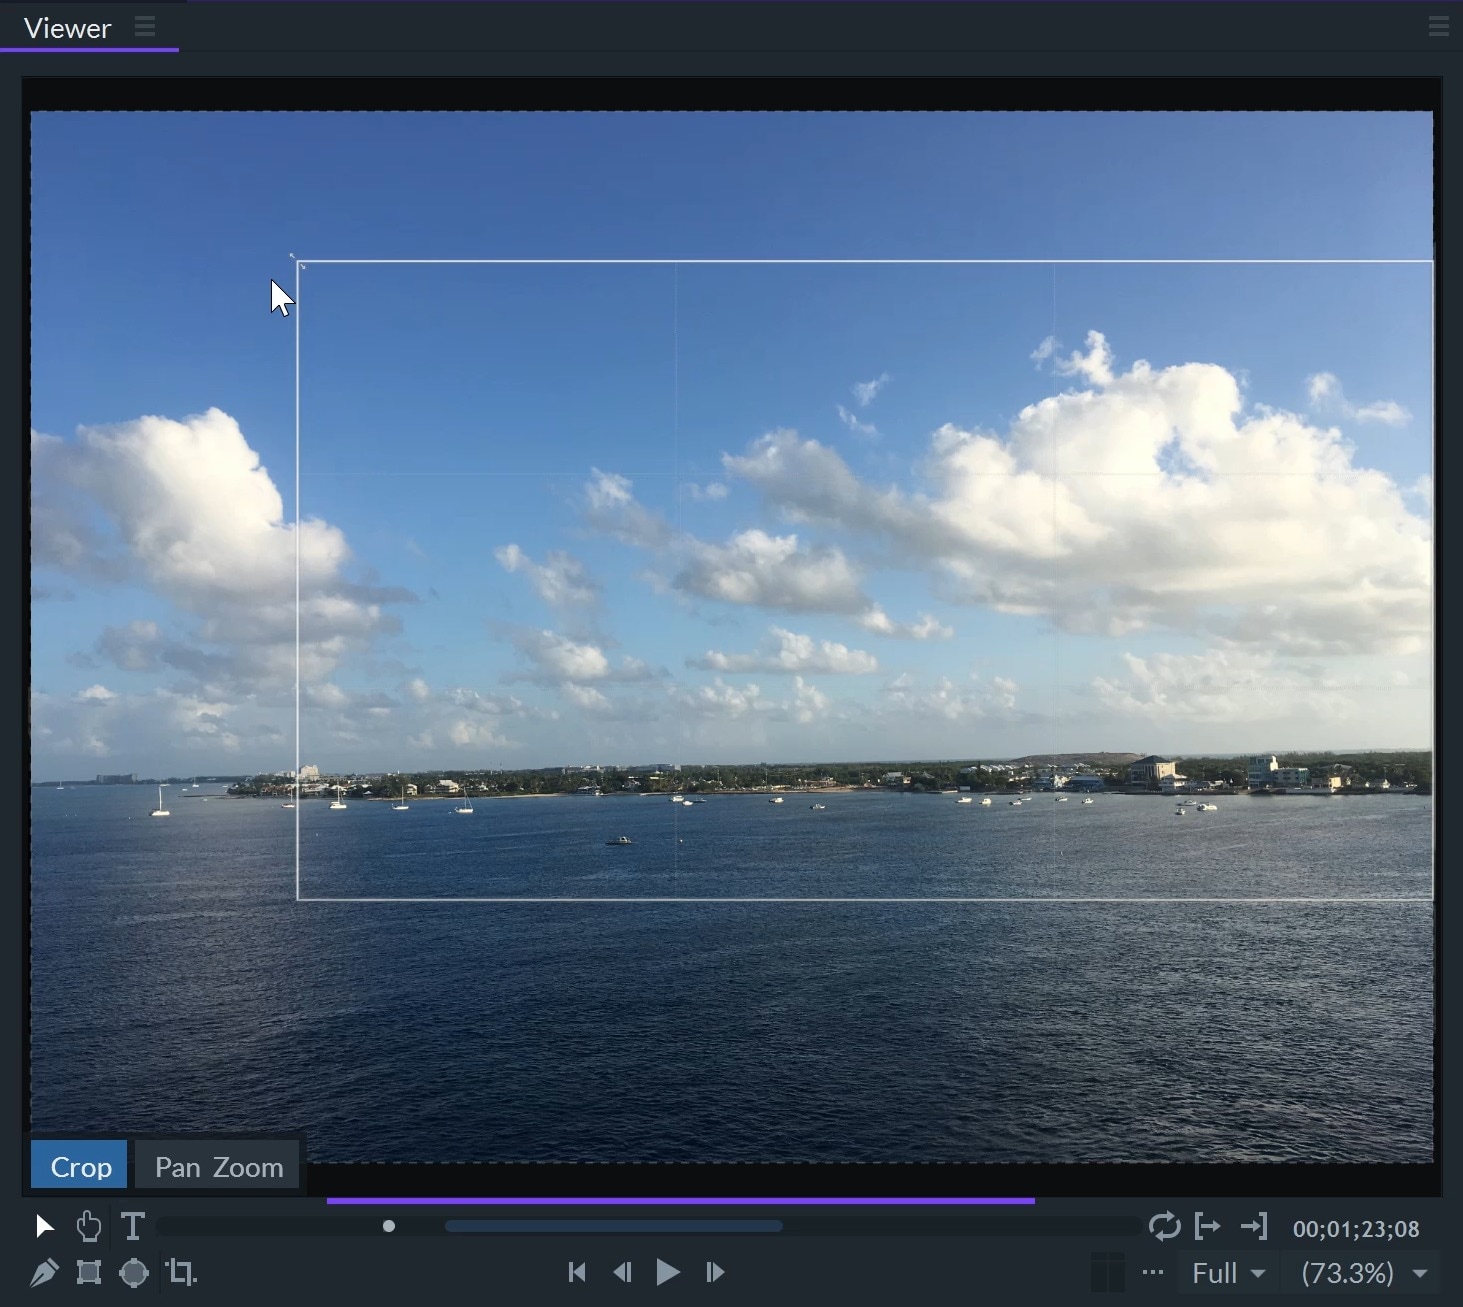

To return to editing the crop, reselect the Crop Pan folder or click on the Crop Pan button in the viewer.
Crop Settings
By default, the crop box has the same aspect ratio as the project and autozoom is applied so that the result fills the project screen.
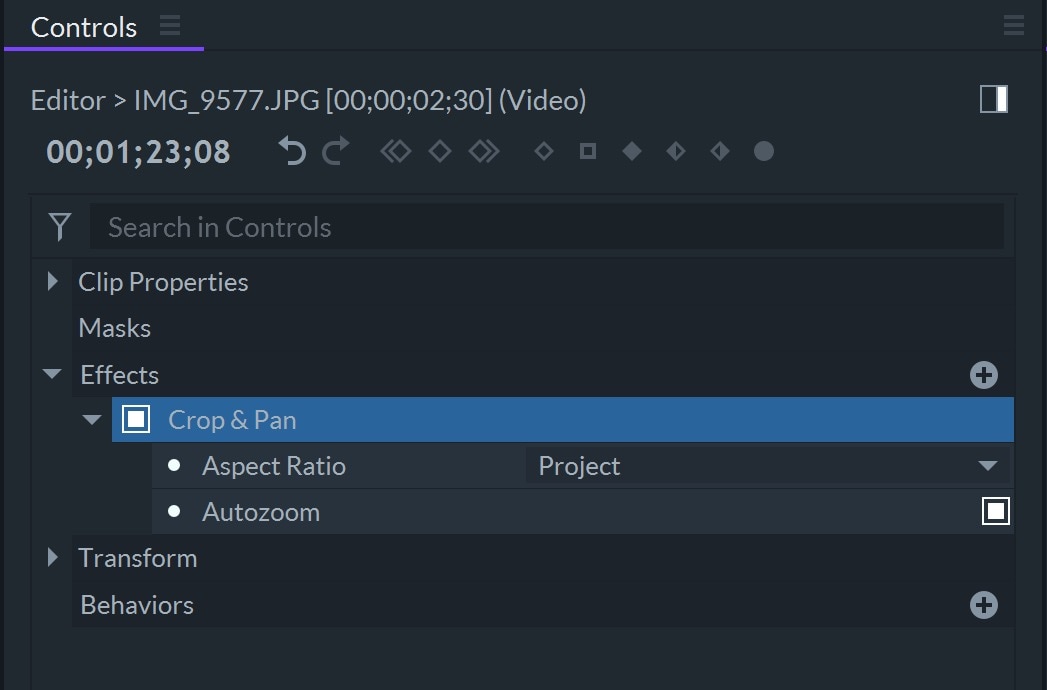
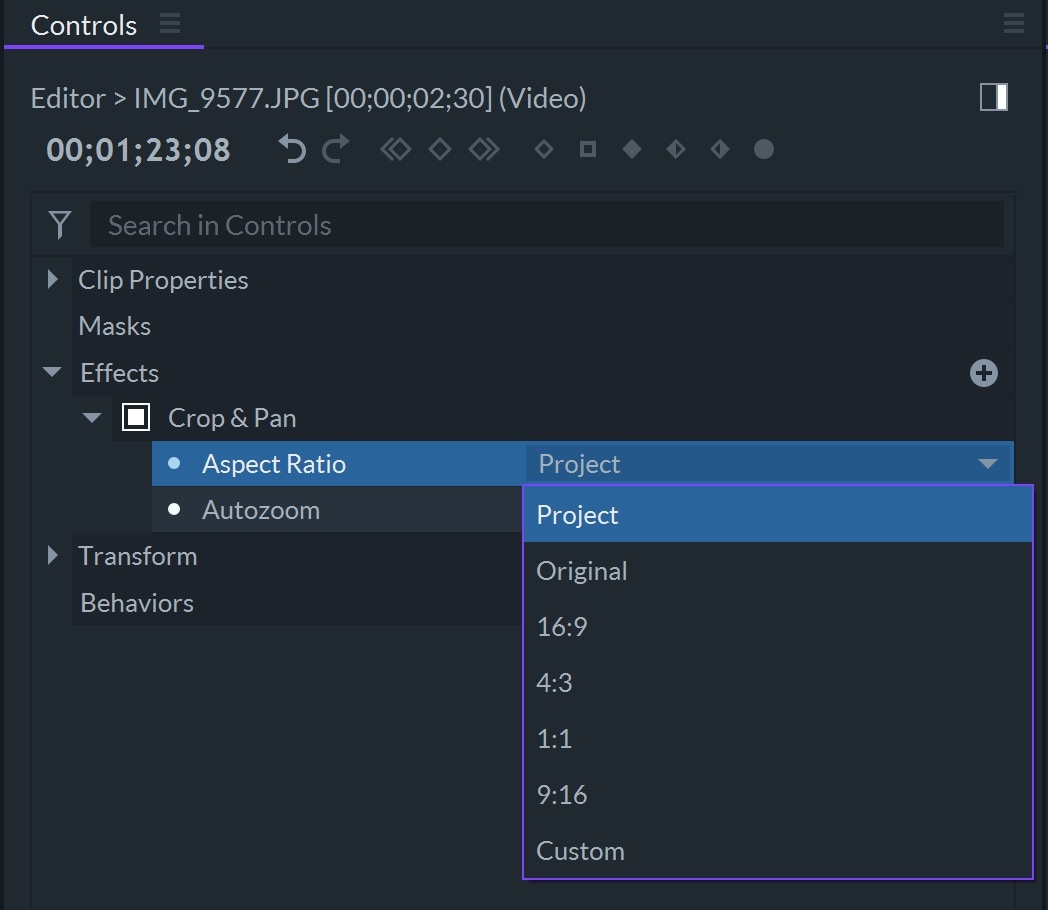
Select a preset aspect ratio, or choose Custom to apply any arbitrary ratio.
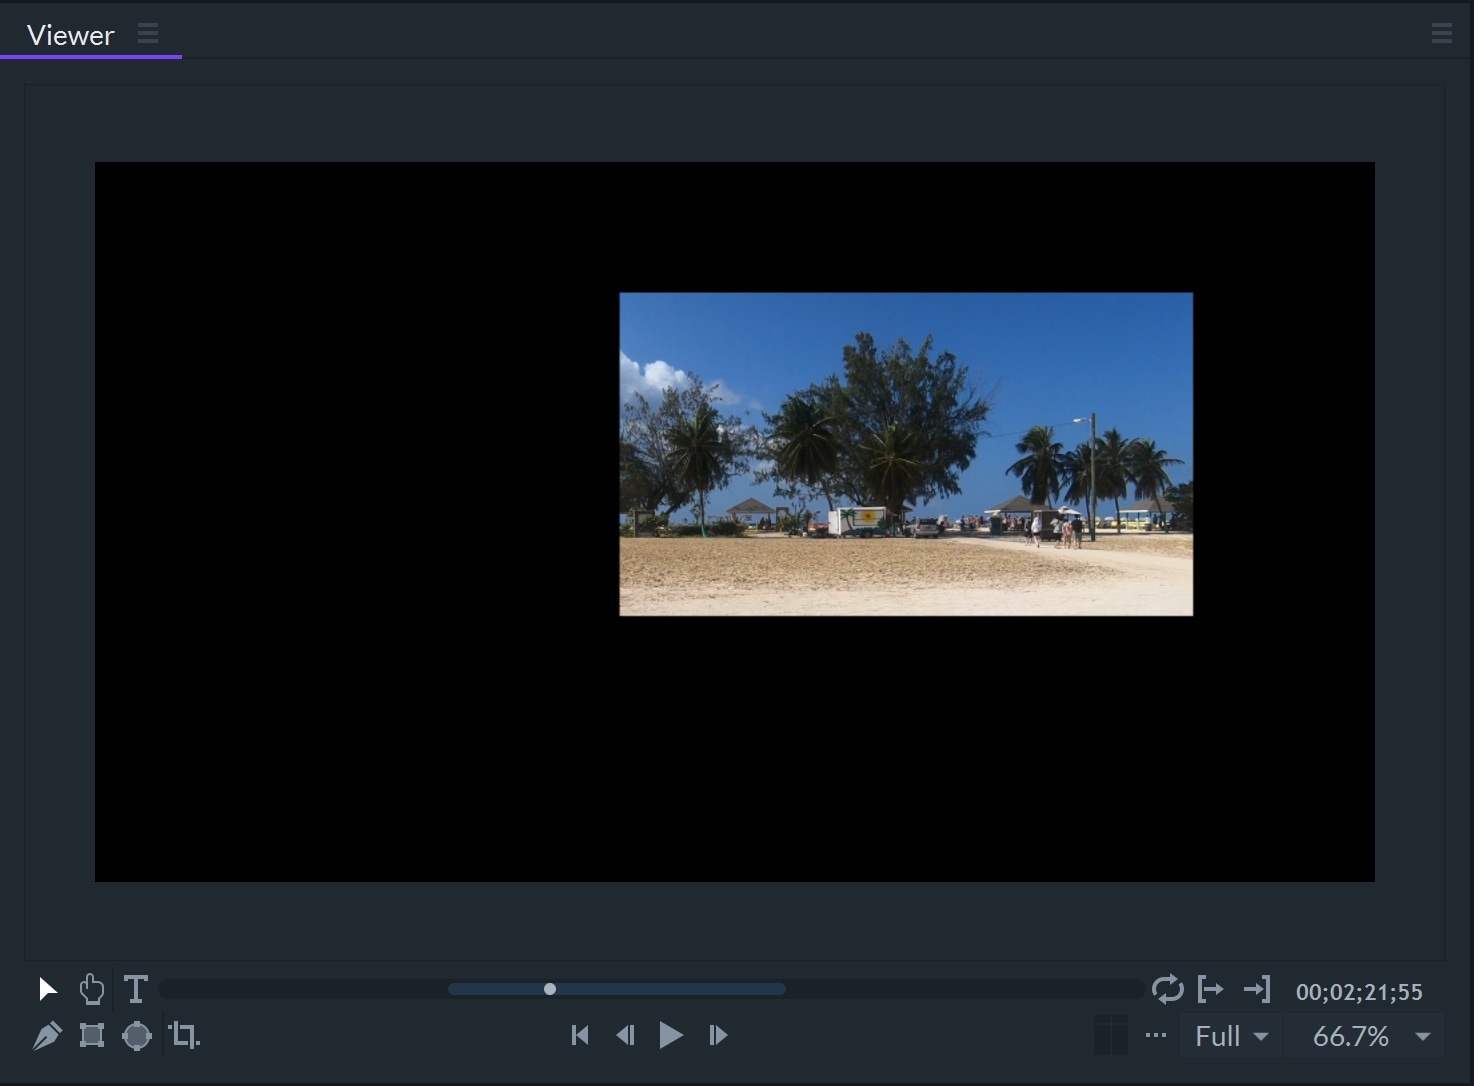
Autozoom disabled will maintain the original size of the footage and the unused outer portion is transparent.
Using Pan&Zoom
- Select a clip in the timeline and then click the Crop Pan button in the Viewer. Next click the Pan Zoom button in the Viewer.
- You can reposition and scale the crop boxes directly in the Viewer. Click drag within a box to move it. Click drag the edge to scale.
- You can add intermediate keyframes so that you can customize the position and scale at any time during the clip.
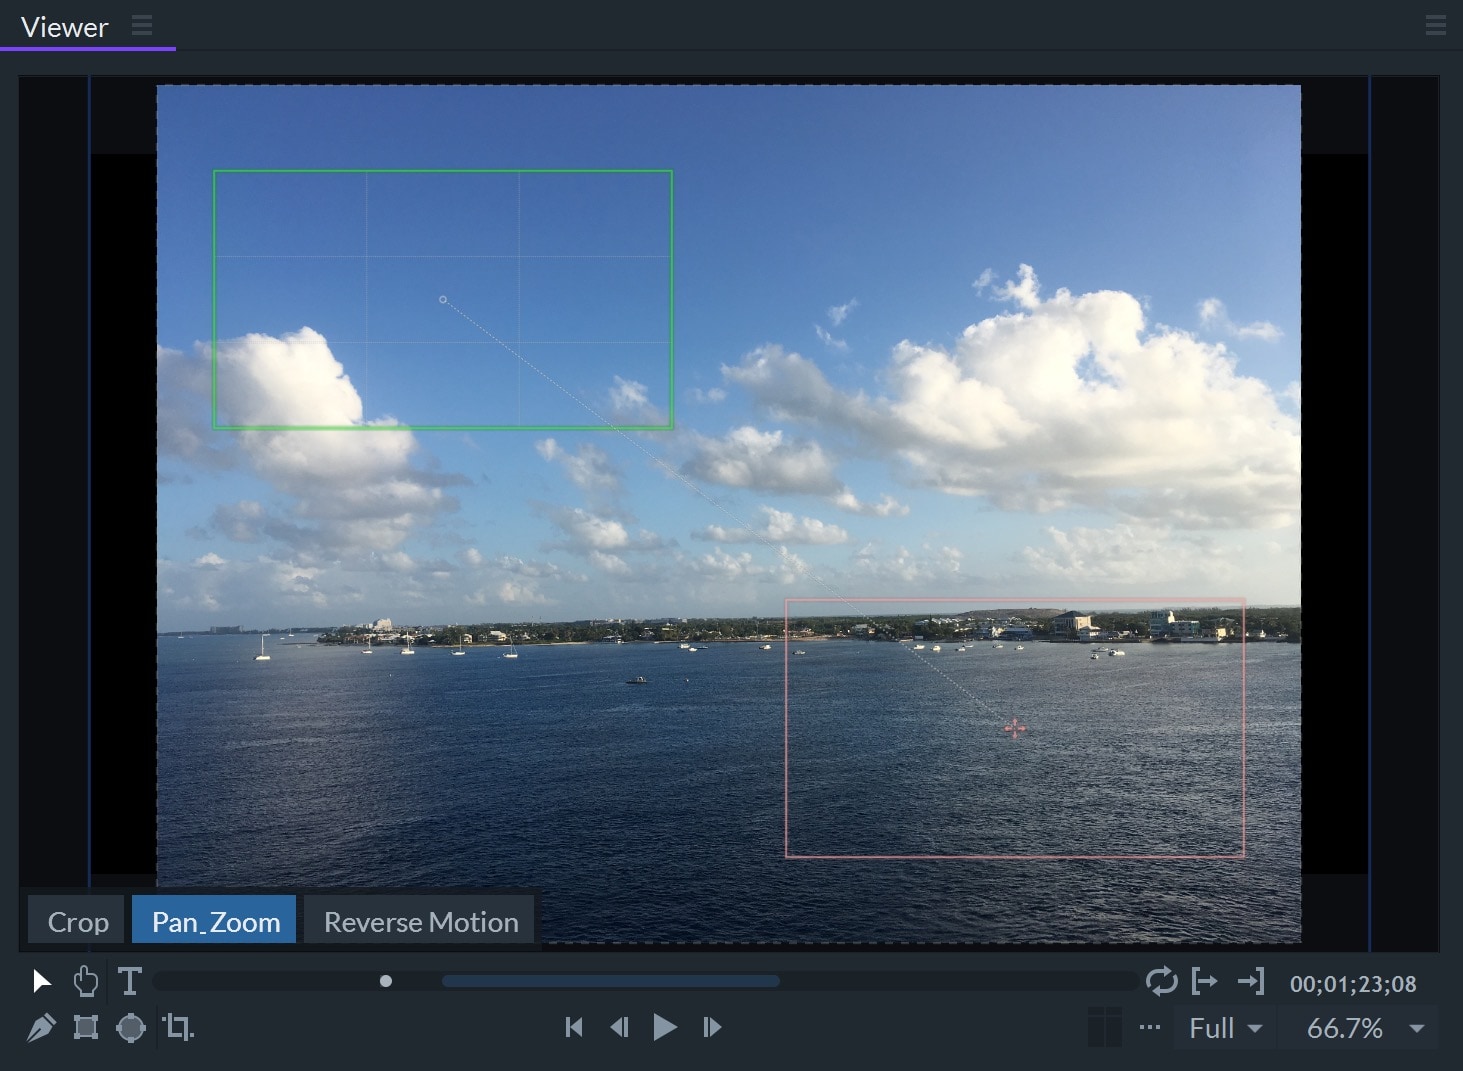
The full image will be automatically scaled to fit the screen. Two crop boxes will appear to show the start and end locations along with the motion path between them. Click the Play button in the Viewer to preview the animation.
The green box shows the start size and location, while the red box shows the end size and location. Click the Reverse Motion button to swap the start and end locations.
When you click on a crop box, the playhead will jump to the associated frame. Therefore, clicking the green box will jump to the clip’s first frame, and clicking the red box will jump to the clip’s last frame.
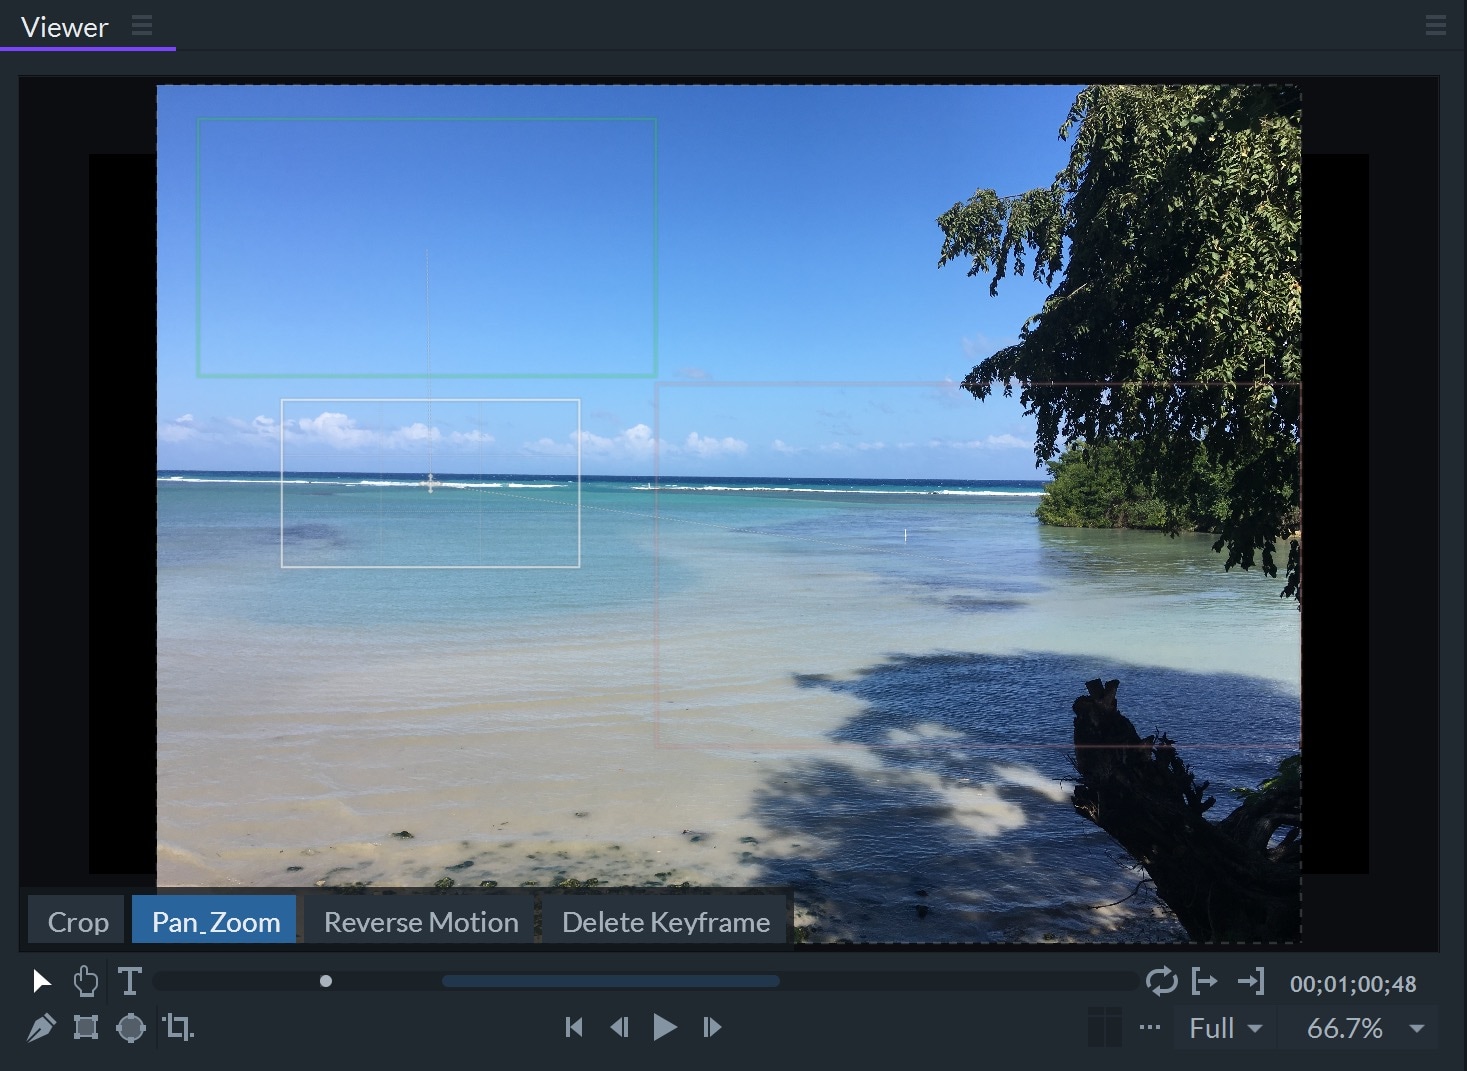
In this example, there are three keyframes: the green box is the first keyframe, the white box is a middle keyframe, and the red box is the last keyframe. Note that each keyframe adjusts the location and scale of the crop boxes.
The Viewer will only display three frames at a time, even if there are more keyframes created for the clip. This is to reduce clutter onscreen. At the current playhead location, the viewer will show the previous keyframe box, the current frame box (this has the rule of thirds grid), and the next keyframe box.
The Delete Keyframe button appears if the current frame has a keyframe. Click this button to remove this keyframe. The button will then change to Add Keyframe. Meanwhile, the motion path will also update.
Deselect the Crop&Pan folder to return to the project preview.
TIP: Set the duration of the clip in the timeline before applying Pan&Zoom. The first and last keyframed points are set at the time you apply this effect.
Pan&Zoom Settings
The Pan&Zoom controls let you change the default settings of Aspect Ratio and Autozoom.
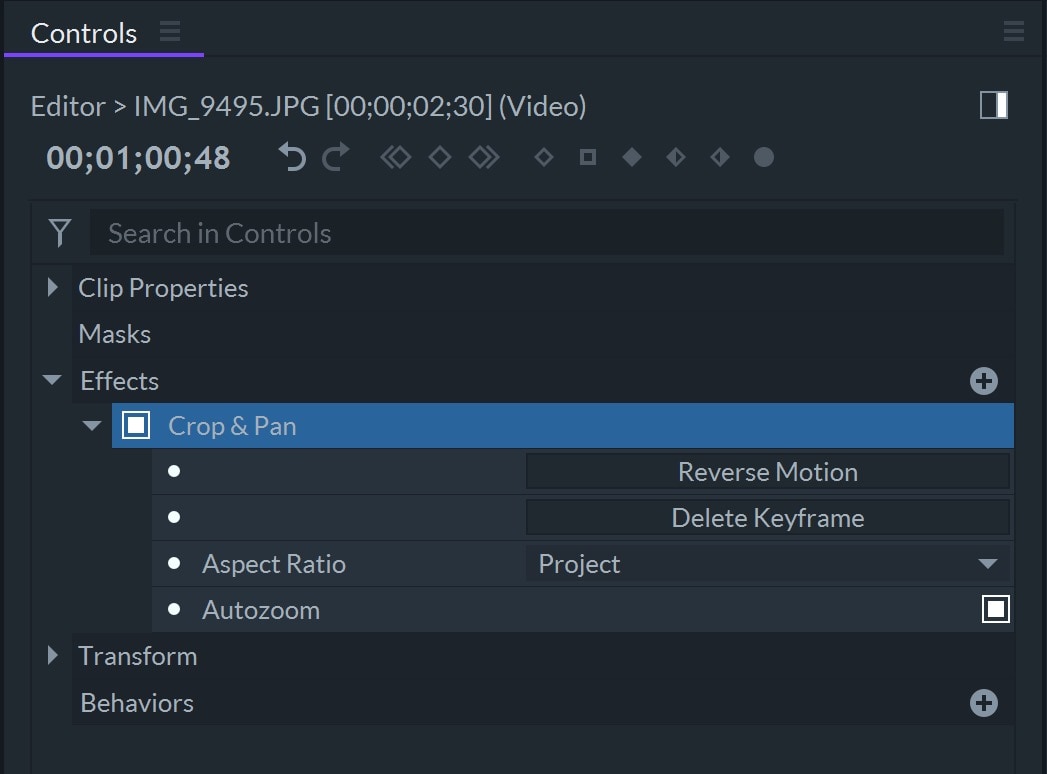
Reverse Motion and Add/Delete Keyframe are the same controls as in the Viewer panel.