- for Windows
- for Mac
Importing Media
Wondershare Filmora9 enables you to import standard, HD, and even 4K videos. You can also record a video with Filmora9 using your computer's webcam or by recording your computer screen. You can even record a voiceover with Filmora9.
Your media clips - including imported videos, images, and audio files will be shown in the Media Library where you can access them quickly and easily.
In this tutorial you will learn how to:
Import Videos, Images, or Audio
There are 3 ways to import media files into Filmora.
Check the complete list of supported file formats here.
Method 1: Click File > Import Media. Choose Import Media Files, Import a Media Folder, Import from a Camera or a Phone, or Import with Instant Cutter Tool.

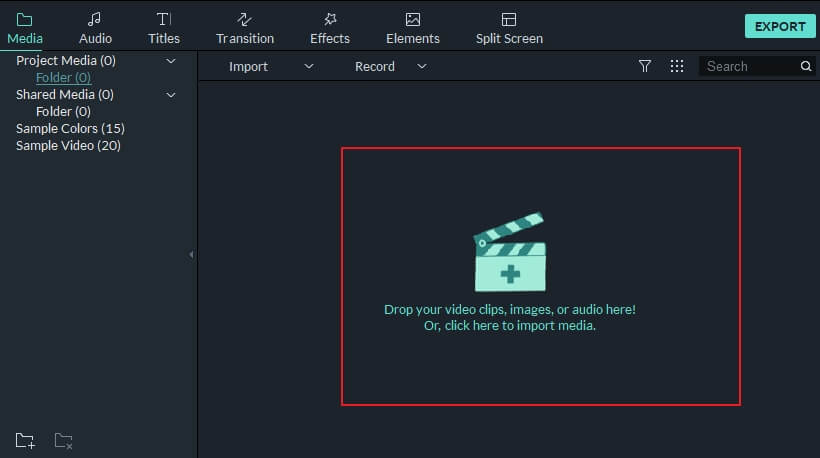
Method 2: Click the import media area as shown below , and then choose one or more media files from the pop-up window.
Method 3: Drag and drop media files into the Media Library.
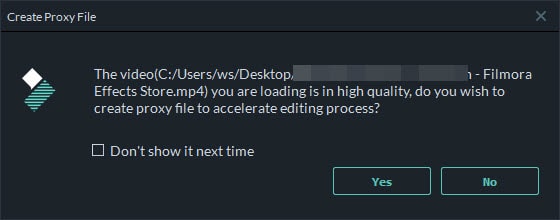
When you import a media file, Filmora may ask you if you want to create a proxy file to accelerate your editing process. A proxy file is a second media file that is smaller than your original file. Usually more timeline effiency will be required when the video has a very high resolution. Creating a proxy file can lower the video resolution in the editing to accelerate the whole editing process without affecting the final export quality. We recommend selecting Yes to create proxy files for a faster video editing experience.
Tip: How to select multiple files at once
If you hold down the Ctrl key or the Shift key as you click a file, you will be able to continue selecting more files.
Ctrl allows you to select multiple files that are anywhere on your file list, not necessarily next to each other.
Shift allows you to select a group of files that are next to each other by clicking one file, and then holding Shift and clicking the last file. All the files in-between are then selected.
You only have to have the Ctrl or Shift key held down while you click. Once you are finished selecting files you can let go of the key and the files you selected will remain selected.
Record Videos with Filmora
You can record a video from your Webcam, record your PC screen and record a voiceover with Filmora9. Follow the steps blow to learn how:
To use this feature, make sure your webcam is well connected to your PC first.
Click the Record button in the upper left of the Media Library panel. In the Capture Video window that pops up, click the camera icon to start recording and click it again to stop recording. Then, click OK to save the recorded video file to the Captured files folder.
The recorded video file will show up in the Media Library automatically after you finish the recording. You can simply drag it into your Timeline, or you can right click it, select Reveal in Explorer to find it in your local computer folder.
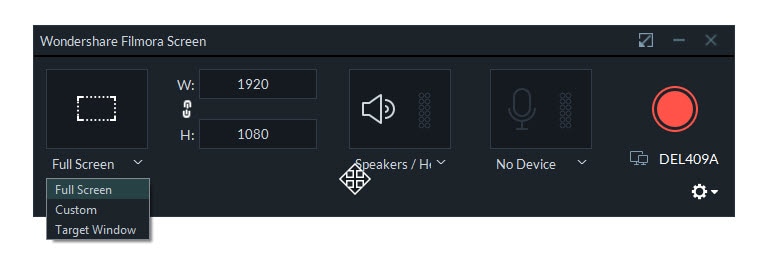
Choose Record PC Screen from the Record menu and the Wondershare Filmora Scrn plugin window will pop up. In this window, you can set the aspect ratio of your video and the portion of the screen you want to record. Click the red button to start recording, and press F9 to stop recording. The recorded video file will be added to Media Library automatically so you can drag it into your Timeline easily.
Choose Record Voiceover under the Record menu, and make sure your microphone is connected to your PC properly. Click the microphone icon and you will have 3 seconds before the recording starts. An audio track will be added to the timeline while you are recording.

Organize Media Files
1. Shared Media
You can import frequently used media (including video clips like intros, audio files like theme music, or images like your logo) into the Shared Media folder and be able to access these files in every new project you start without importing them again.

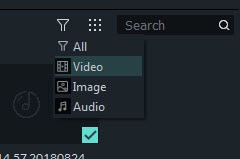
2. Filter Media by Video, Image, or Audio
You can filter your files according to file type here:
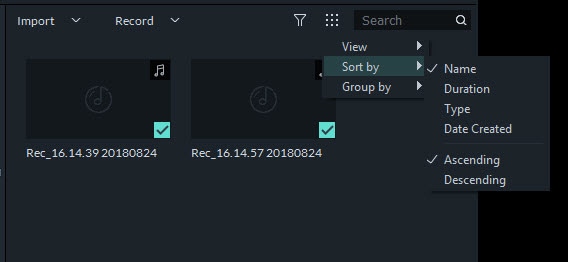
3. Sort Media by Name, Duration, Type, or Date Created
Sort your files by Name, Duration, Type or Date Created and choose whether to list them in Ascending or Descending order here:
4. Locate Media
Locate media files you have imported by typing their names into the Search bar
