- for Windows
- for Mac
Export and Share
Here is how to export and share your finished videos:
1. Export your video to your computer
To export your video to your computer, click the export button and choose the Local tab. Then, select the format you want to export in. Currently, Filmora9 supports the following formats: WMV, MP4, AVI, MOV, F4V, MKV, TS, 3GP, MPEG-2, WEBM, GIF and MP3.

After selecting the output format, you can rename the video and change the location on your computer where you save it. You can also check the output resolution, frame rate, size, and duration before you export. To change your export settings (i.e. resolution, bit rate, and frame rate) click the SETTINGS button.
In the settings window there are three quality levels: Best, Better and Good. The only difference among them is the Bit Rate. You are able to adjust this or other parameters, such as Resolution, and Frame Rate in this window.

It is best to export your video with the same settings as your original video.
When you’re finished adjusting your export settings, press OK to save them. Then, after you have closed the Settings window, press the Export button in the Export window.
-
Note:
- The size of the video depends on the length of the project and the bit rate. If the file size looks too big, you can try changing the bit rate in the Settings window to make it smaller.
- If you want to export HEVC, you need to upgrade the latest Windows 10 and install the HEVC video extensions by Microsoft.
2. Export by the device you want to play your video on
In the Device tab under Format, you can choose to output your video according to the ideal settings for different types of devices, such as: iPhones, iPads, apple TVs, Samsung Galaxy phones, PlayStation 4s, and more. You can make manual adjustments to your settings as well by clicking the Settings button. Click export when you’re finished.
Note: exporting in this way won't automatically transfer your videos to your devices. Your videos will still be stored on your computer’s local hard drive.

3. Directly upload your video to video sharing sites
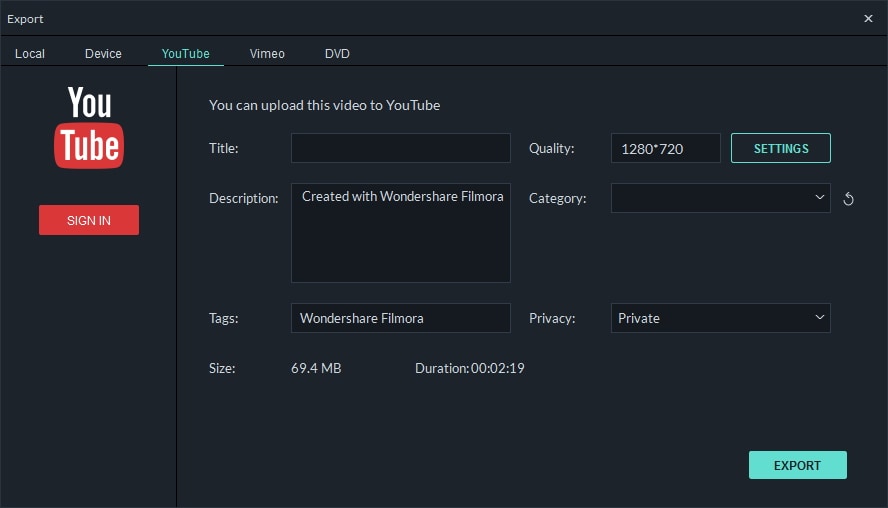
You can upload your videos, even 4k videos, directly to YouTube or Vimeo from Filmora9. You will need to enter your account information for the site you want to upload to.

4. Burn a DVD
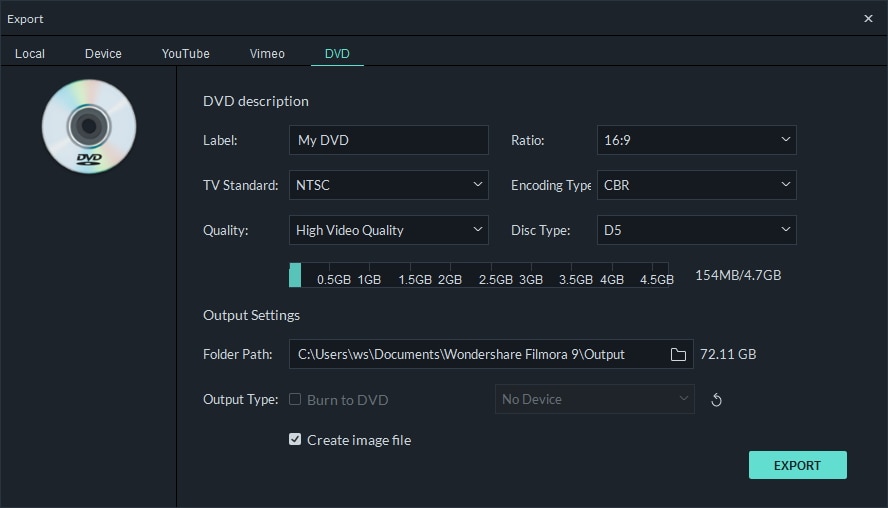
You can burn your video from to a DVD. Choose the DVD tab and enter the required settings, such as the aspect ratio and disc type.
