- for Windows
- for Mac
Instant Cutter Tool
Filmora9 for Mac (Latest Filmora version 9) Instant Cutter tool allows you to import large video files in formats and trim or merge them quickly without re-encoding. This is an especially useful tool if you’re working with high resolution videos, like 4K action camera footage, because those file sizes tend to be larger.
The Instant Cutter tool supports videos in the H.264 MP4/MOV and H.264 MTS/M2TS formats.
To access this feature, click the arrow next to Import and select Import with Instant Cutter Tool.

Section 1: Trim Video Clips in Filmora Instant Cutter
To follow the steps below, first open the Filmora9 Instant Cutter window by clicking Import > Import with Instant Cutter Tool in the Media Library.
Step 1: Importing clips
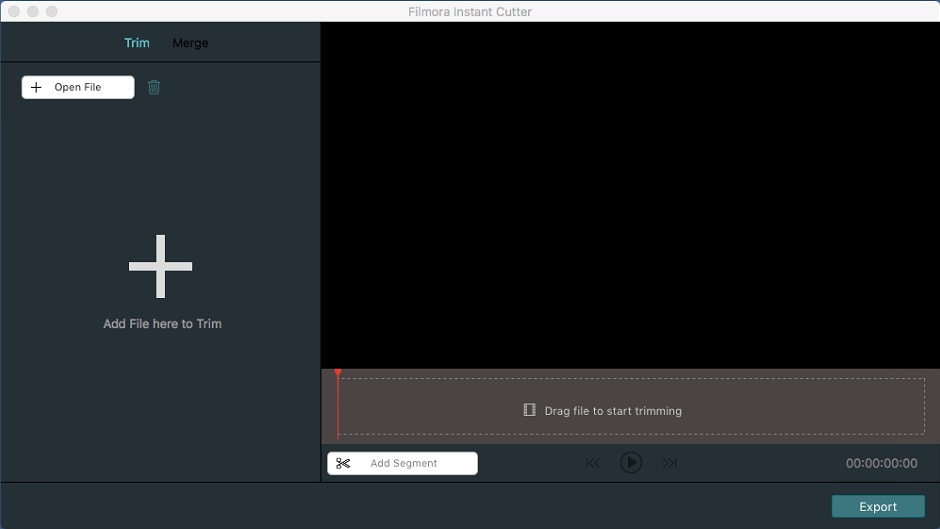
In the Trim tab, click Open File to choose a video clip from your computer. You can also drag and drop a file you want to edit in the Instant Cutter Tool directly from a folder on your computer into the trimming timeline panel.
You can edit one file at the time with the Instant Cutter.
Step 2: Trimming
The Instant Cutter Tool offers three quick and easy ways to trim video clips.
Method 1: Trimming with Sliders
Once you've imported video to the Instant Cutter timeline it will be displayed on the preview window. Drag the trimming sliders on the Instant Cutter Tool's timeline to designate which part of the clip you are going to keep.

You can drag the In and Out sliders left or right to precisely control where you want your clip to start and end.
Note: the highlighted section is the segment which will be kept after trimming.
Method 2: Trim by setting in and out points

Place the playhead in the Instant Cutter timeline at the exact spot where you want the clip to start, and then click on the Set in  icon . The software will automatically remove all footage in the clip before the starting point.
Repeat this process to set an ending point. Place the playhead at the position on the timeline where you want the video clip to end and click on the Set out icon
  and all footage after that point will be deleted.
Method 3: Trimming by setting the duration of the clip
In the media menu in the left side of the Instant Cutter window you will see your clip's thumbnail image and information such as the file name and duration.
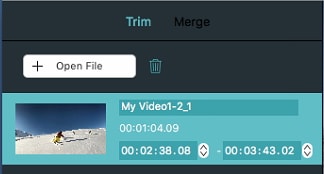
Next to the starting and ending time of a clip there is a small Up and Down icon that lets you increase or decrease the duration of a video clip. You can trim your video this way if you know from where you want it to start and end.
Step 3: Add a Trimmed Segment as a New Clip [optional]
If you want to save several segments from the original clip as their own clips, use the Add Segment feature located directly below the timeline. Place the playhead where you want the new video clip to start and click the Add Segment button.

Filmora9 for Mac will automatically remove all parts of the clip before the starting point you've set and include the rest of the original video in the new clip. You can always fine tune the starting and ending points of the added segments in the left side screen.
Step 4: Preview
Select the segment in the left side screen, and then click on the Play button or hit the Space key on your keyboard and the video will start playing. Next to the Play button, you'll be able to see the Previous Frame  and Next frame
  buttons which you can use to jump through your footage frame by frame.
Step 5: Export Trimmed Video
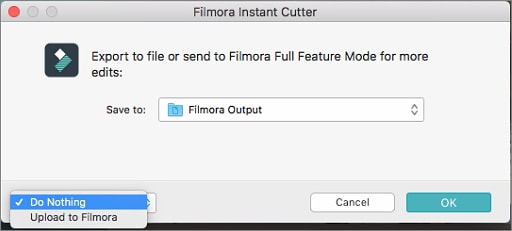
After previewing the trimmed video, you can save the trimmed videos to the Filmora Output folder on your computer (or choose a new location to save it). Just click Export. In the export window you will be asked what to do after your export is complete. If you select Upload to Filmora, the trimmed video will be imported to the Filmora9 media library so you can continue editing it with Filmora9 for Mac’s full range of tools. If you choose Do Nothing then the trimmed video will be saved without any further actions and you will stay in the Instant Cutter tool.
Section 2: Merging Video Clips
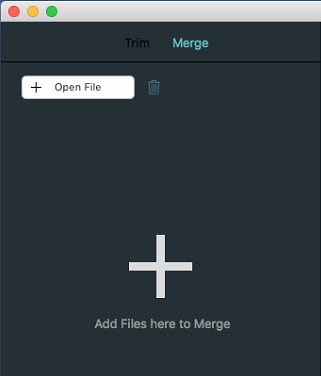
Besides enabling you to trim video clips quickly, the Instant Cutter Tool also lets you merge several clips into a single video. Once you launch the tool, click into Merge tab that is located in the upper right corner of the screen next to Trim.
Step 1: Import Footage
Click on the Open File icon or drag your video clips directly into the tool’s timeline. Unlike with the Trim tool you can import multiple videos into the merge tool.
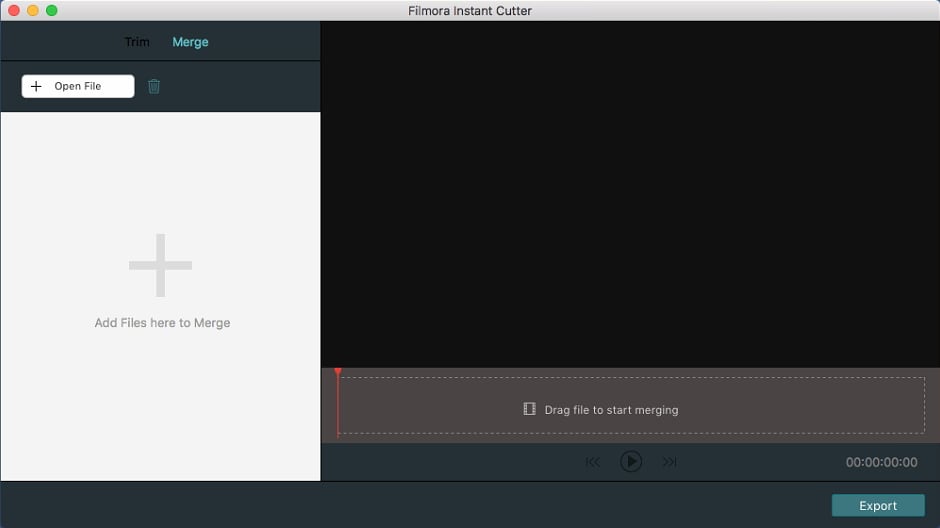
All of the videos you import will be listed in the left of the screen. You'll be able to see the durations of all the video clips there.

Keep in mind that the clips must have been recorded with the same camera or device, and they must have the same resolution and frame rate.
Step 2: Reorder Clips
Drag the video clips upwards or downwards to change their positions in the media menu on the left and this will also change their order in the merged video.
Step 3: Preview
Click on the Play button to preview the merged video before hitting the Export button. You can also use the Previous Frame and Next Frame buttons to go through the video frame by frame.
Step 4: Export
After previewing the merged video clip, click the Export button and all the video clips under the Merge tab will be saved as one.